When removing a drain stopper, such as when it is clogged or stuck or when you want to upgrade its look, the process is easy. But the steps aren't the same for every stopper. How do you remove yours?
This article explains how to remove all the drain stoppers on the market today. You will also learn how to clean and maintain the stopper and drain and when it's time for a complete stopper replacement.
Basic Tools for the Job
Tools for Most Drain Stoppers:
- Flathead screwdriver: Loosens set screws or pries off covers.
- Pliers or an adjustable wrench: Helps grip and unscrew tight parts.
- Hex key (Allen wrench): Needed for stoppers with hidden screws.
- Gloves: Keeps your hands clean when dealing with grime and buildup.
Optional Tools for Stubborn Stoppers:
- Drain wrench or locking pliers: Useful for stoppers that won’t budge.
- Penetrating oil (like WD-40): Loosens rusted or corroded parts.
- Drain snake or wire hanger: Helps clear out any clogs you find while removing the stopper.
How to Remove a Tub Stopper
Here are the top tub drain stoppers out today and the steps for removing them.
How to Remove a Lift-and-Turn Drain Stopper

A lift-and-turn drain stopper is one of the most common types. It has a small knob on top that you twist to open and close the drain.
Step 1: Open the Stopper and Check for a Set Screw
Turn the stopper counterclockwise (to the left) while pulling up slightly. If it keeps spinning without coming off, check for a set screw at the base of the knob. If there's a set screw, use a flathead screwdriver or hex key to loosen it, but don't completely remove it. If there's no set screw, the stopper is threaded onto a post and can be unscrewed by hand.
Step 2: Remove the Stopper
Once the set screw is loose (or if no screw is present), firmly grip the stopper and twist it counterclockwise while lifting. It should come off easily. If it's stuck, use pliers with a soft cloth to pull it off without scratching the finish.
Step 3: Clean and Inspect the Drain
With the stopper removed, take a moment to:
- Check for hair or soap buildup and remove any debris.
- Wipe down the drain opening with a mild cleaner.
- Inspect the stopper for damage. If it’s cracked or corroded, consider replacing it.
Now that you've removed the lift-and-turn stopper follow the cleaning and maintenance steps toward the end of this article.
How to Remove a Push-and-Pull Drain Stopper

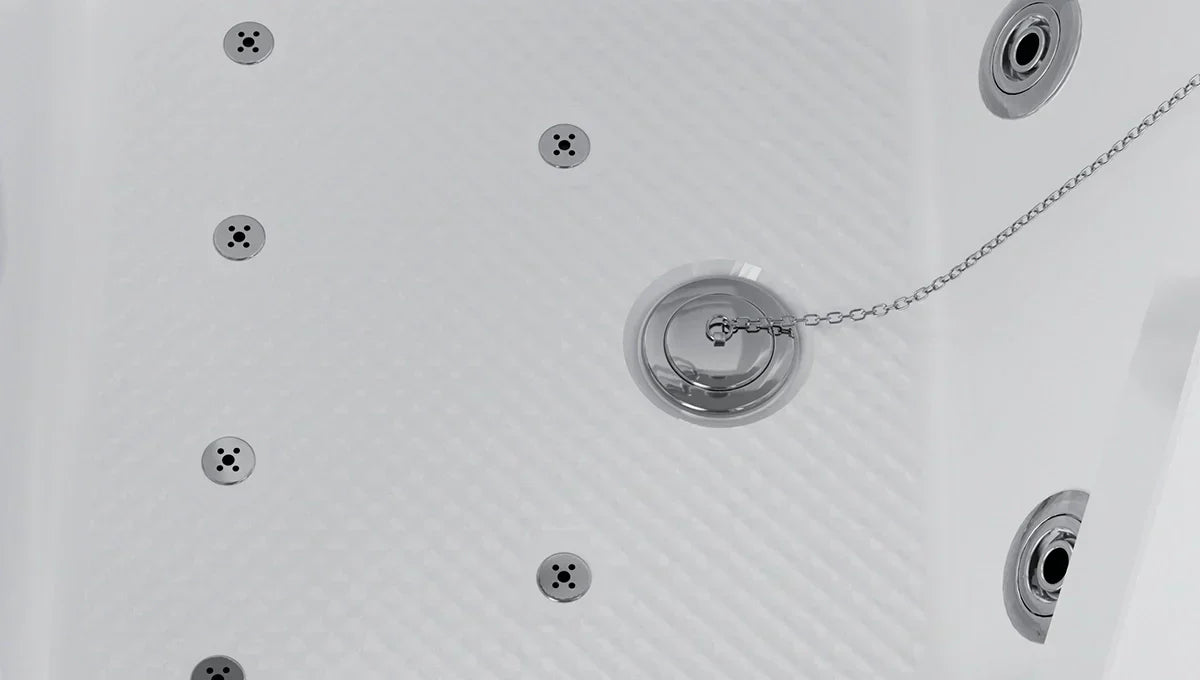
A push-and-pull drain stopper looks similar to a lift-and-turn stopper but doesn't require twisting. Instead, you push it down to close the drain and pull it up to open it. Here's how to remove the tub drain plug.
Step 1: Open the Stopper and Check for a Set Screw
Set the stopper to the open position by pulling it up. Look for a set screw at the base of the knob. If there’s a set screw, use a flathead screwdriver or hex key to loosen it, but don’t remove it completely. If there’s no set screw, the stopper is attached by threading, and you can unscrew it by hand.
Step 2: How to Take Off the Tub Drain Plug
Once the set screw is loose (or if there isn’t one), firmly grip the knob and turn it counterclockwise to unscrew it from the drain post. If the stopper is stuck, wrap a soft cloth around it and use pliers for extra grip. Avoid applying excessive force to prevent damaging the stopper or drain.
Now that you’ve removed the push-and-pull stopper, follow the cleaning and maintenance steps listed toward the end or replace it with a new one.
How to Remove a Toe-Touch Drain Stopper

A toe-touch drain stopper is spring-loaded and operates with a simple foot press. Press down once to close the drain and press again to open it. However, the internal spring can wear out, making full replacement necessary.
Step 1: Open the Stopper
Press the stopper down and release it so it's in the open position. This ensures easier access to the fastening mechanism underneath.
Step 2: Twist and Unscrew the Stopper
Grip the circular cap of the stopper and turn it counterclockwise. Some models will unscrew completely, while others may have a shaft cylinder underneath. If a shaft cylinder is present, use pliers to grip it and turn it counterclockwise until it detaches. Avoid applying excessive force to prevent damaging the stopper or drain.
Now that you’ve removed the toe-touch drain stopper follow the cleaning and maintenance steps listed toward the end, or replace it with a new one.
How to Remove a Flip-It Drain Stopper

A flip-it drain stopper uses a simple toggle mechanism to open and close the drain. Unlike other stoppers, it doesn't screw into the drain but instead relies on rubber O-rings to create a seal. If you have this type of stopper, you are in luck. This type of stopper is one of the easiest to remove.
Step 1: Open the Stopper
Flip the toggle to the open position so that water can flow freely. This will make gripping and removing the stopper easier.
Step 2: Pull the Stopper Out
Firmly grasp the stopper and pull it straight up. If it feels stuck, wiggle it gently while pulling to break the O-ring’s seal. For stubborn stoppers, insert a flathead screwdriver under the edge and carefully pry it up.
Now that you’ve removed the flip-it stopper follow the cleaning and maintenance steps listed toward the end or replace it with a new one.
How to Remove a Trip-Lever Drain Stopper

A trip-lever drain stopper is controlled by a lever on the overflow plate, rather than a knob or cap on the drain itself. This removal is a bit more involved because the overflow pipe has an internal rod and plunger system. Still, you'll find the removal process relatively easy.
Step 1: Set the Lever to the Open Position
Move the trip lever to the open position. This helps release tension on the internal plunger, making removal easier.
Step 2: Remove the Overflow Plate
- Use a screwdriver to unscrew the two screws holding the overflow plate in place.
- Carefully pull the plate — the entire stopper assembly (lever, rods, and plunger) will come out with it. If the assembly feels stuck, gently wiggle it side to side as you pull.
Now that you've removed the trip-lever stopper follow the cleaning and maintenance steps listed toward the end of this article or replace it with a new one.
How to Remove a Pop-Up Drain Stopper

A pop-up drain stopper operates using a lever on the overflow plate, similar to a trip-lever stopper. However, instead of a plunger inside the overflow pipe, it uses a rocker arm and spring mechanism to move the stopper up and down.
Step 1: Open the Stopper
Set the lever to the open position so the stopper pops up. This will make it easier to remove.
Step 2: Pull Out the Stopper
Grip the stopper and pull it straight up. Most pop-up stoppers will slide out easily.
If it doesn’t budge, wiggle it gently to loosen it from the rocker arm. Some models may require a slight twist and pull motion to detach.
Step 3: Disconnect the Rocker Arm (If Necessary)
- If the stopper is still attached, you may need to remove the overflow plate to access the rocker arm.
- Unscrew the plate, carefully pull it forward, and slide out the entire assembly.
Now that you've removed the pop-up stopper, follow the cleaning and maintenance steps below or replace it with a new one.
Cleaning and Maintaining Your Drain
Now that your stopper is removed, cleaning and maintaining your stopper and drain is relatively simple but essential. Regular upkeep prevents clogs, eliminates odors, and keeps water flowing smoothly. A good cleaning ensures your drain plug works as intended, avoiding the need to buy a new one.
Remove Hair and Debris
- Use a gloved hand, drain snake, or wire hanger to pull out any trapped hair or gunk inside the drain.
- For deep blockages, try a plunger or a baking soda and vinegar mix to break up the buildup.
Wipe Down the Drain Opening
- Spray a mild bathroom cleaner or use a mix of warm water and dish soap to wipe away soap scum and grime.
- For stubborn buildup, scrub with an old toothbrush or non-abrasive sponge.
Prevent Future Clogs
- Use a drain cover to catch hair before it enters the pipes.
- Flush the drain with hot water once a week to keep things moving.
- Clean the stopper regularly to prevent soap residue from building up.
With these simple maintenance steps, your tub will drain properly, and you won’t need to remove the stopper as often.
When to Replace Your Bathtub Drain
Sometimes, cleaning and maintenance aren’t enough. If your stopper is damaged, outdated, or causing frequent drainage issues, it might be time for an upgrade. High-quality stoppers can delay the need for this step, which is why we only use top-quality stoppers on our Empava tubs. Still, here is how to spot if your drain stopper needs replacing.
Signs You Need a New Drain Stopper
- Frequent clogging: Even after cleaning, water still drains slowly.
- Rust or corrosion: Visible wear and tear can affect performance.
- Loose or broken parts: Replacement is the best option if the stopper won't stay in place or doesn't seal properly.
Benefits of New Stoppers
- Better sealing mechanisms: Prevent leaks and improve water retention.
- Smoother operation: No more struggling with stuck or faulty stoppers.
- Sleek designs: Upgrade the look of your tub with a stylish new finish.
The Empava Difference
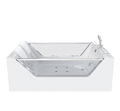
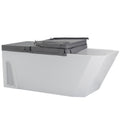
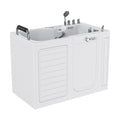
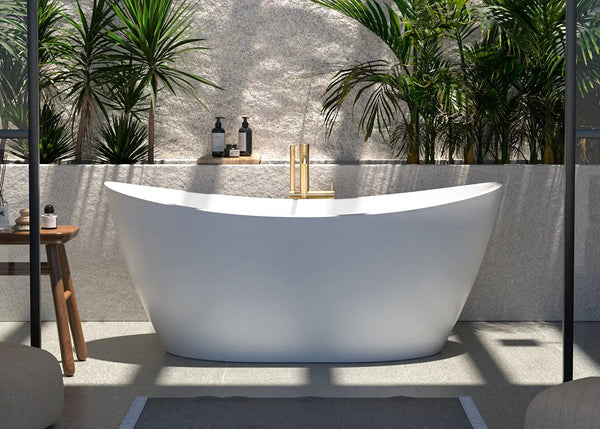
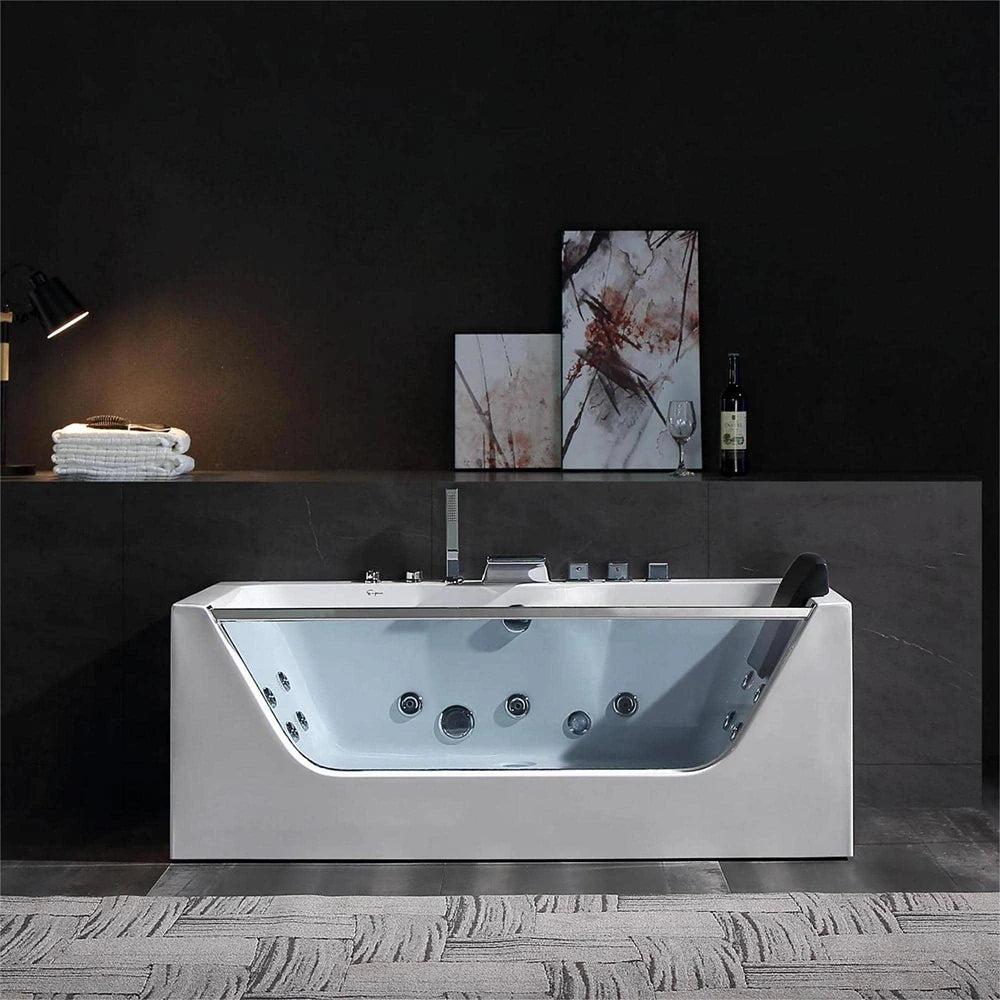
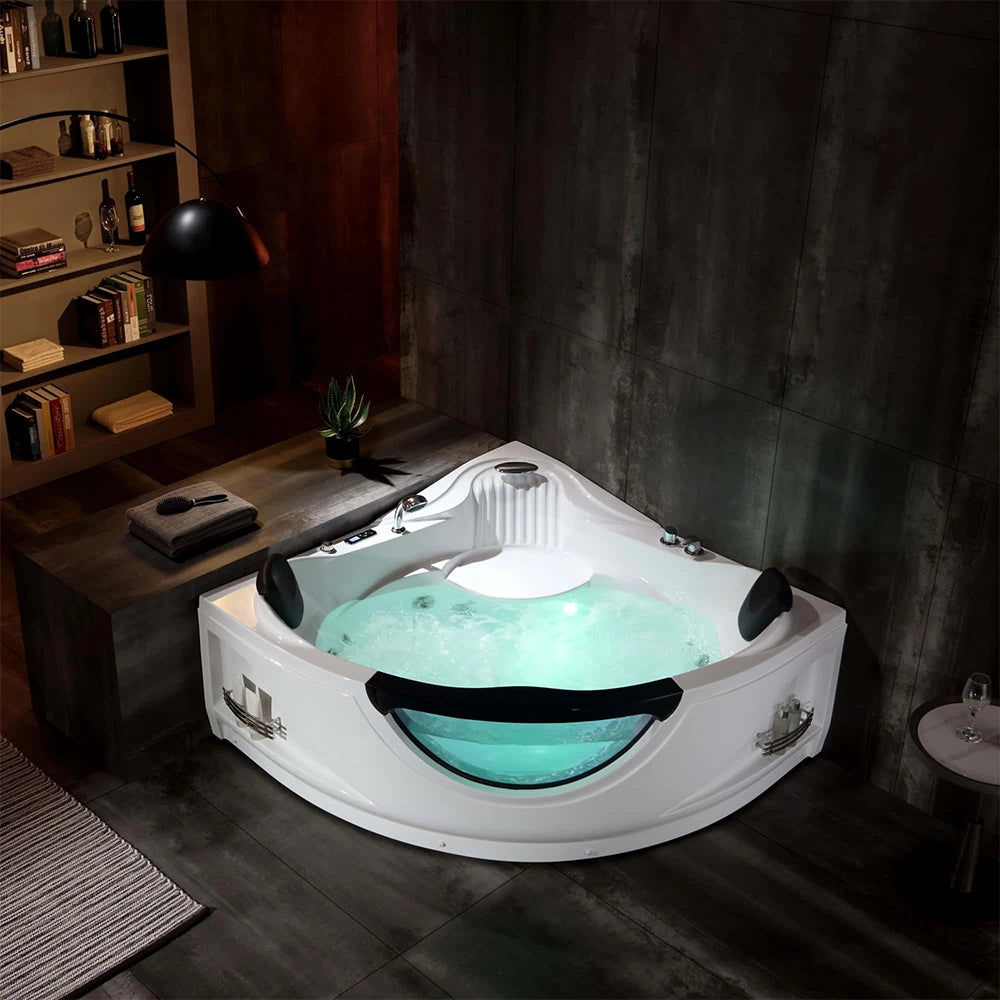
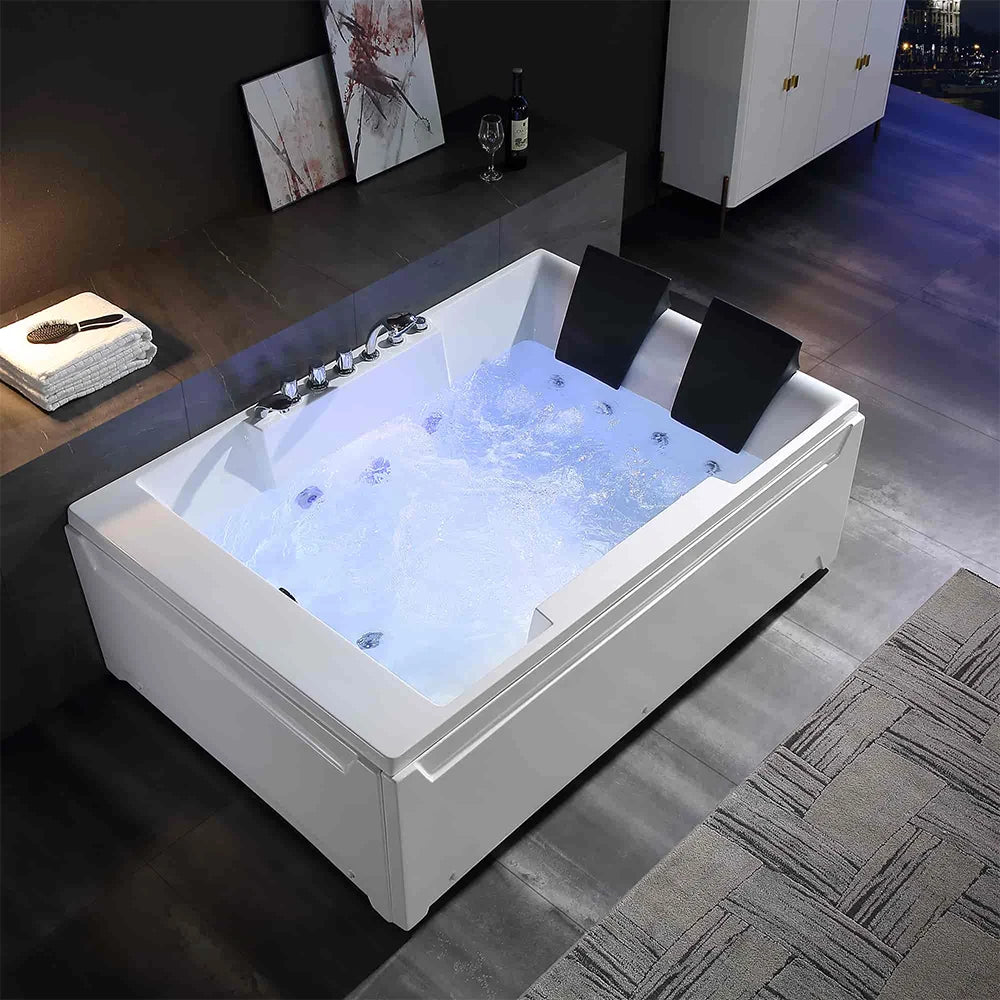
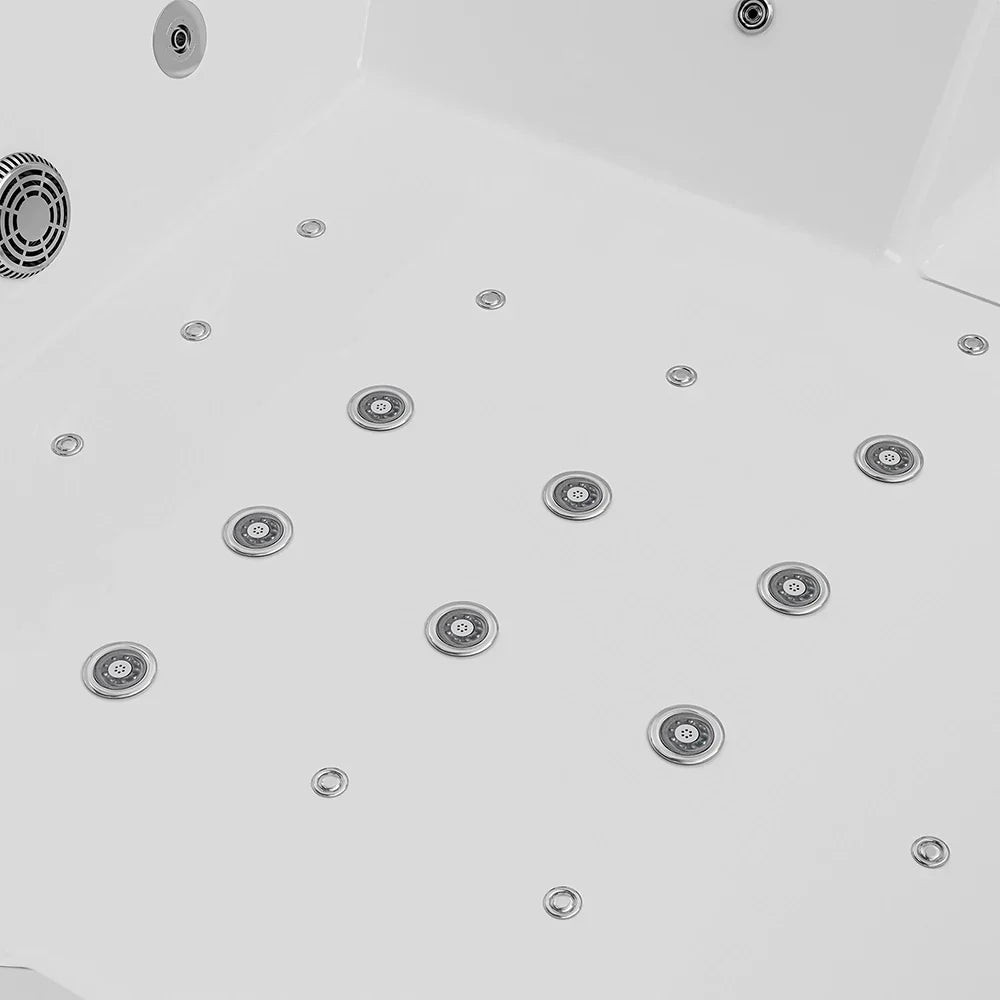
At Empava, we design and create durable bathtubs that are also beautiful and highly functional. This includes many jet tub models. For these reasons, we focus solely on quality products and parts, including our tub drain stoppers. We know that one aim of a bathtub is to provide relaxation and rejuvenation for many years to come, and our premium designs and materials ensure it.
To see our full range of tubs and accessories, click here.










 added to cart
 Select A Custom Kitchen Tool Set
Leave a comment
All comments are moderated before being published.
This site is protected by hCaptcha and the hCaptcha Privacy Policy and Terms of Service apply.